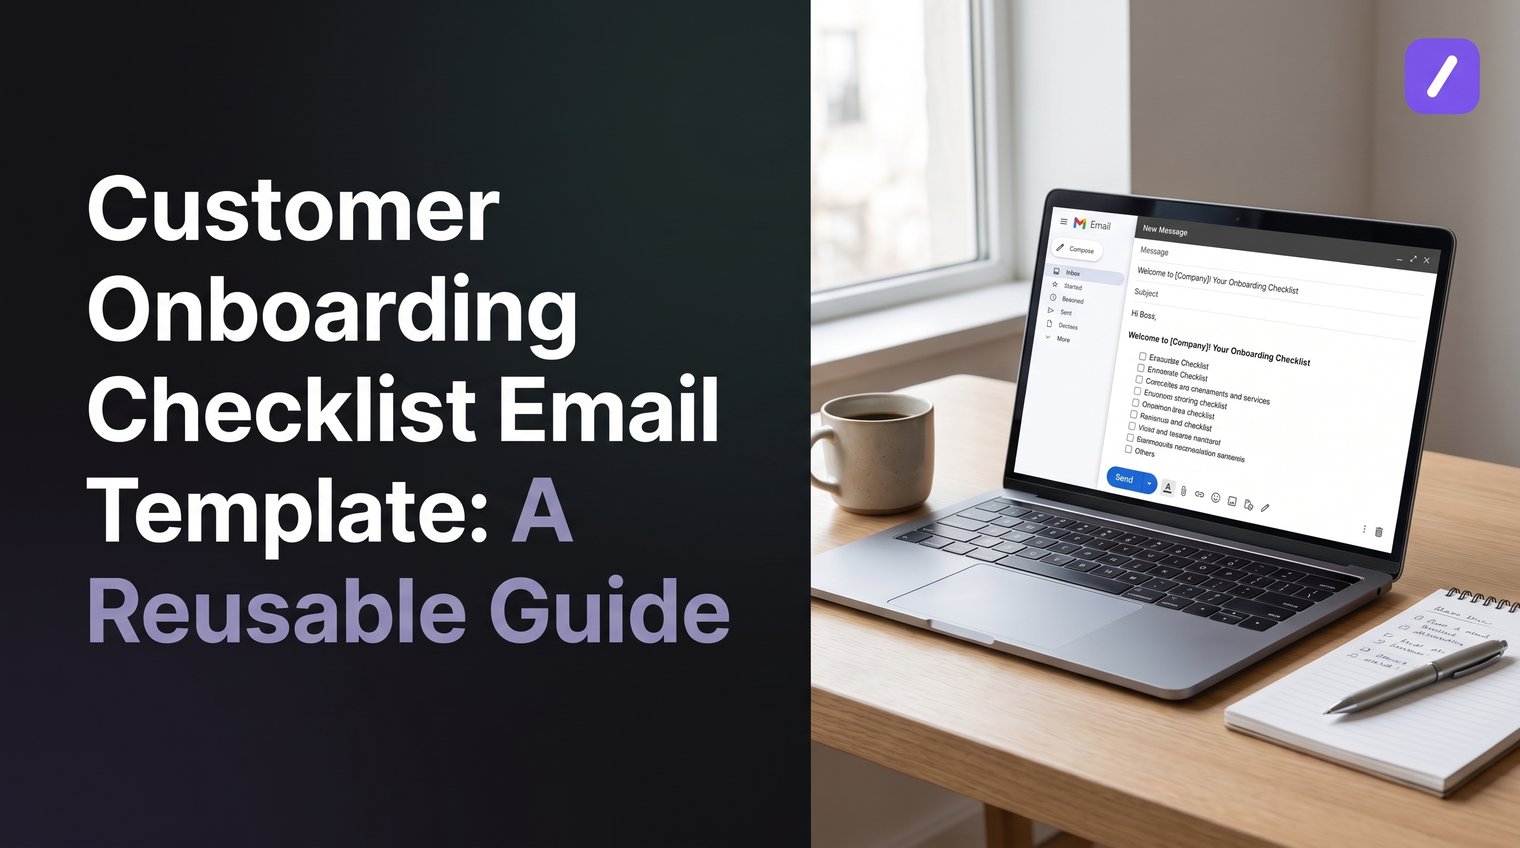
A customer can be excited to buy and still fail to get started. The gap usually is not a lack of features or enthusiasm; it is a vague handoff. A strong onboarding email tells the customer exactly what happens next, who owns it, and what one action will create momentum.
Use this customer onboarding checklist email template guide to build messages that are easy to act on, easy for your team to repeat, and specific enough to prevent the usual back-and-forth.
What a Customer Onboarding Checklist Email Template Should Accomplish
The job of an onboarding email is to move a new customer from purchase, signup, or signed agreement to a confident first action. That might mean activating an account, inviting a teammate, submitting brand assets, connecting a data source, or booking a kickoff call.
Effective onboarding emails share five practical qualities:
- Clear: The customer can immediately understand what they need to do next.
- Contextual: The request connects to their goal, use case, or stage of implementation.
- Concise: The message avoids dumping every feature, document, and optional resource into one email.
- Actionable: It includes one primary call to action, a due date when needed, and a direct route to complete the task.
- Consistently timed: It arrives when the customer is ready for that step, not days before or weeks after it matters.
A welcome email is only the first message. Real onboarding usually requires a sequence: welcome the customer, request missing inputs, confirm the kickoff, follow up on setup, and check whether the customer reached early value. The checklist behind those emails is what keeps the experience consistent.
Before You Send: Build the Customer Onboarding Checklist
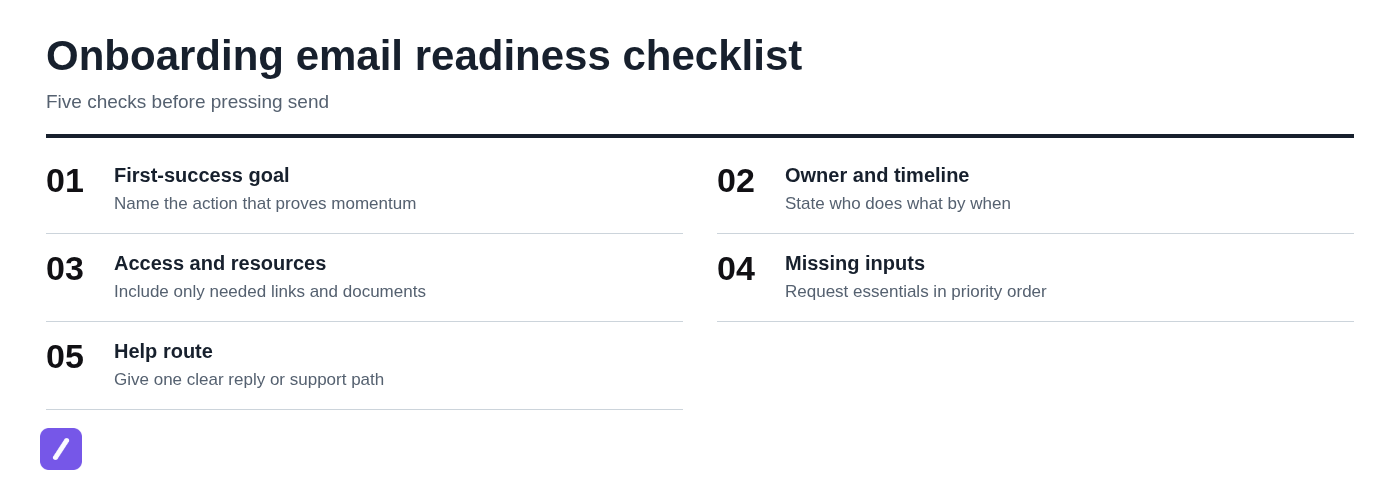
Before adapting any template, create a simple internal checklist. This keeps onboarding from depending on one person's memory and helps your team distinguish what must happen now from useful personalization that can wait.
Must-have items protect the customer handoff: an owner, a first-success goal, correct access, necessary inputs, deadlines, and a support path. Nice-to-have items make the experience more relevant, such as role-specific resources or a reference to the customer's stated use case.
Essential: Confirm the first-success milestone
Define the first outcome that proves the customer is moving forward. For a self-serve product, that may be account activation or inviting the first teammate. For a service engagement, it may be booking kickoff or submitting required project materials.
Every call to action in your earliest emails should support that milestone. Do not send a new customer a broad product tour, five help articles, and a feature list when the only action that matters this week is connecting their account or completing a setup form.
Essential: Gather the information and documents you need
Request only the inputs that block the next stage of onboarding. Depending on your process, this could include billing details, implementation contacts, approved brand assets, data access, signed paperwork, technical requirements, or project scope.
Use a short prioritized list, explain why each item is needed, and give the customer a due date. Provide a secure upload route or a direct reply option that fits your organization's process. Avoid a vague request such as "send everything you have"; it creates delay because the customer has no way to judge what is relevant.
Nice-to-have: Personalize by customer segment and onboarding path
Adjust the message for the path the customer is actually taking. A small self-serve team may need a quick activation link, while an enterprise implementation may need named contacts, a kickoff agenda, and a project timeline.
Useful personalization can include the customer's role, account tier, use case, implementation complexity, and lifecycle trigger. Before sending, verify the basics: links work, meeting times are correct, the named owner is still responsible, and any promised deliverables match the agreement.
Template 1: Client Welcome Email With Clear Next Steps
Use this immediately after a purchase, signed agreement, or approved handoff. Keep the tone warm, but do not let the greeting crowd out the next action.
Subject: Welcome to [Company], [First Name] - your next step
Hi [First Name],
Welcome to [Company]. We are excited to help [Customer Company] achieve [primary goal or use case].
Your main contact is [Primary Contact Name], [title]. To get started, please complete [first action] by [date or timeframe]:
[Primary CTA link or clear instruction]
Once that is complete, we will [next event, such as schedule kickoff, review your submission, or help configure the account]. Your next milestone is [first-success milestone].
If you have questions, reply to this email and [Primary Contact Name] will help.
Best,
[Sender Name]
[Title]
For self-serve onboarding, replace the contact-heavy language with one activation action and a short help route. For high-touch onboarding, add the named implementation owner, kickoff timing, and any immediate requirements.
Template 2: Customer Onboarding Next Steps Email
Send this when the customer needs to complete a short sequence after signup, purchase, or contract completion. Numbered steps work well because they make effort and order visible.
Subject: Next steps for your [Company] onboarding
Hi [First Name],
Now that [trigger, such as your account is active or your agreement is complete], here are the next steps to get you to [first-success milestone]:
1. [Action one] - [brief instruction or link]. Estimated time: [time].
2. [Action two] - [brief instruction or link]. Please complete by [date, if applicable].
3. [Action three] - [brief instruction or link].
After these steps, [what your team will do next]. We will check in on [date or timeframe] to confirm progress and help with any blockers.
Your next action is: [single primary CTA]
Thanks,
[Sender Name]
Replace a generic product-tour link when you know the customer's role or use case. A sales manager may need a pipeline setup guide; an operations contact may need an implementation checklist. If the customer requires hands-on setup, the better CTA may be booking the implementation session rather than browsing a resource library.
Template 3: Request Missing Information From a Client
Missing information is normal. The mistake is treating it as a broad, open-ended request. Name the specific items, explain why they matter, and make the completion route obvious.
Subject: Information needed to continue your onboarding
Hi [First Name],
We are ready to move forward with [project, account setup, or implementation]. To complete [next stage], we still need the following:
- [Item one]: Needed so we can [reason].
- [Item two]: Needed so we can [reason].
- [Item three]: Needed so we can [reason].
Please send these by [date] using [secure upload link, approved portal, or reply instructions]. If you cannot provide an item, reply with the expected date or let us know who we should coordinate with instead.
Once we have these items, we will [specific next action].
Thank you,
[Sender Name]
Keep sensitive-document instructions aligned with your organization's approved security and compliance process. Do not assume every customer should email confidential files, and do not make universal claims about which documents are required. The required inputs depend on your service, agreement, and implementation scope.
Template 4: Customer Onboarding Reminder Email
A reminder should lower friction, not simply repeat the original request with more pressure. Restate the value, reduce the task to its smallest useful step, and offer a clear route for help.
Subject: Quick reminder: complete [next step] to get started
Hi [First Name],
We are checking in because [required step] is still pending. Completing it will allow you to [customer benefit or first-success outcome].
The next step is simply to [smallest action] here: [CTA link]
It should take about [estimated time]. If something is blocking progress, reply here and we can help with [specific support option].
We recommend completing this by [date] so we can [next milestone].
Best,
[Sender Name]
Missed kickoff variation: "We missed you at today's onboarding session. You can choose a new time here: [reschedule link]. If a live session is no longer needed, reply and we will send the best next setup step for your team."
Incomplete setup variation: "Your [setup task] is almost complete. Finish [single remaining action] and you will be ready to [first-value outcome]."
For broader follow-up workflows, see these proposal follow-up email template examples and adapt the timing and CTA to your onboarding stage.
Template 5: Kickoff Confirmation and Agenda Email
For high-touch onboarding, the kickoff confirmation prevents a meeting from becoming a status update with the wrong people in the room. Confirm who should attend, what decisions are needed, and what customers should prepare.
Subject: Confirmed: [Customer Company] onboarding kickoff on [Date]
Hi [First Name],
Your onboarding kickoff is confirmed for [date] at [time and time zone].
Attendees
[Your attendees and roles]
[Customer attendees and roles]
Agenda
- Confirm your goals and first-success milestone
- Review the onboarding timeline and responsibilities
- Complete or plan [key setup activity]
- Identify open questions, dependencies, and next steps
Before the meeting, please [prepare required items, review a resource, or invite a relevant stakeholder].
If you need a different time, reschedule here: [reschedule link].
Looking forward to working together,
[Sender Name]
Low-touch customers do not always need a kickoff. If the product can be adopted without a meeting, replace it with a clear activation email and offer live help only when the customer needs it.
Template 6: First-Value Check-In Email
This email is not a generic satisfaction survey. Send it after the customer should reasonably have reached the first outcome you promised, then ask a focused question about that outcome.
Subject: Have you reached [first-success milestone]?
Hi [First Name],
You should now be in a position to [first-success milestone]. Have you been able to [specific action or outcome]?
If yes, the recommended next step is [relevant next recommendation].
If not, reply with the part that is blocking you. Common issues at this stage are [brief, relevant examples], and we can help you resolve them.
You can also reach us at [support route]. For a focused set of questions to use when diagnosing blockers, see this customer support troubleshooting questions template.
Best,
[Sender Name]
Keep the question narrow. "How is everything going?" often gets ignored because it requires the customer to decide what kind of feedback you want. "Were you able to invite your team and publish your first workflow?" gives them a concrete response path.
How to Turn These Templates Into a Reliable Email Sequence
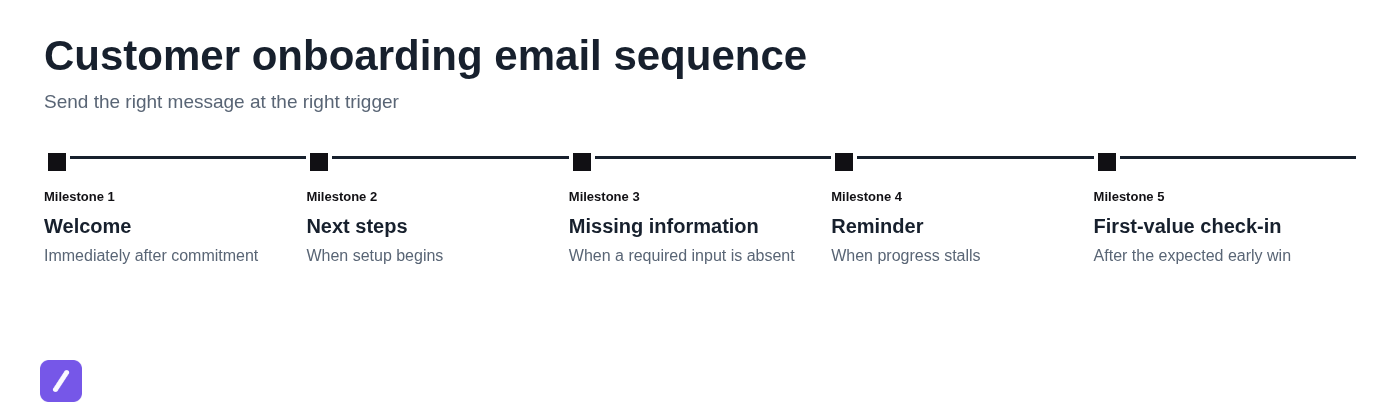
Templates work best when they are attached to operational triggers, not sent as isolated messages whenever someone remembers. The sequence should make it obvious what starts each email, who sends it, and when the customer exits that stage.
| Trigger | Message | Exit criteria |
|---|---|---|
| Purchase, signup, or signature | Welcome email | Customer knows the owner and completes the first action. |
| Setup begins | Next steps email | Required setup tasks are underway or complete. |
| Required input is absent | Missing information request | Customer submits the needed item or provides a timeline. |
| Kickoff is scheduled | Kickoff confirmation | Right attendees are confirmed and prepared. |
| Progress stalls | Reminder email | Customer completes the smallest pending action or asks for help. |
| Expected early win date | First-value check-in | Customer reaches the milestone or receives targeted support. |
For each message, document four details: send timing, owner, exit criteria, and one primary CTA. That turns an onboarding checklist into a repeatable workflow rather than a static document that no one checks once the customer signs.
Make the Templates Faster to Reuse Without Sounding Robotic
Teams often lose consistency because approved email language lives in scattered documents, old sent messages, or one experienced employee's inbox. Save reusable blocks for greetings, next-step lists, missing-information requests, meeting confirmations, and sign-offs so the team starts from approved language rather than a blank screen.
Leave obvious fill-in fields for details that must change: customer name, account context, assigned owner, deadline, meeting link, first-success goal, and support route. The goal is not to automate judgment. It is to eliminate repetitive typing while preserving a final review for accuracy and relevance.
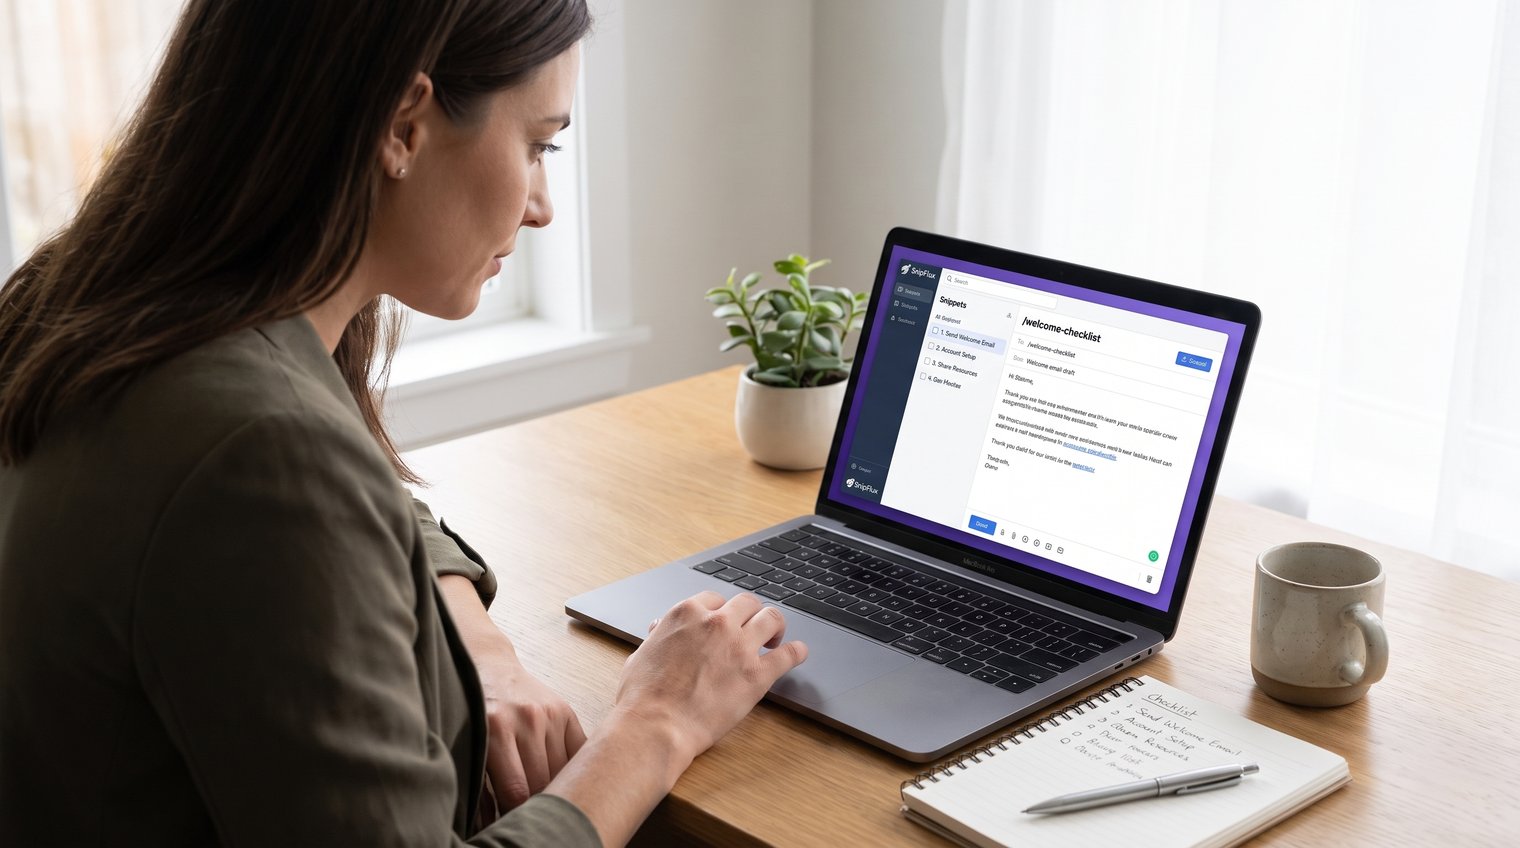
SnipFlux can help teams insert reusable onboarding email blocks with shortcuts across Chrome, macOS, and Windows. A shortcut such as /missing-info can expand into an approved request template, while the sender fills in the customer-specific items before sending.
SnipFlux
The workflow is to trigger a saved onboarding block with a shortcut, then review and complete its fill-in fields before sending.
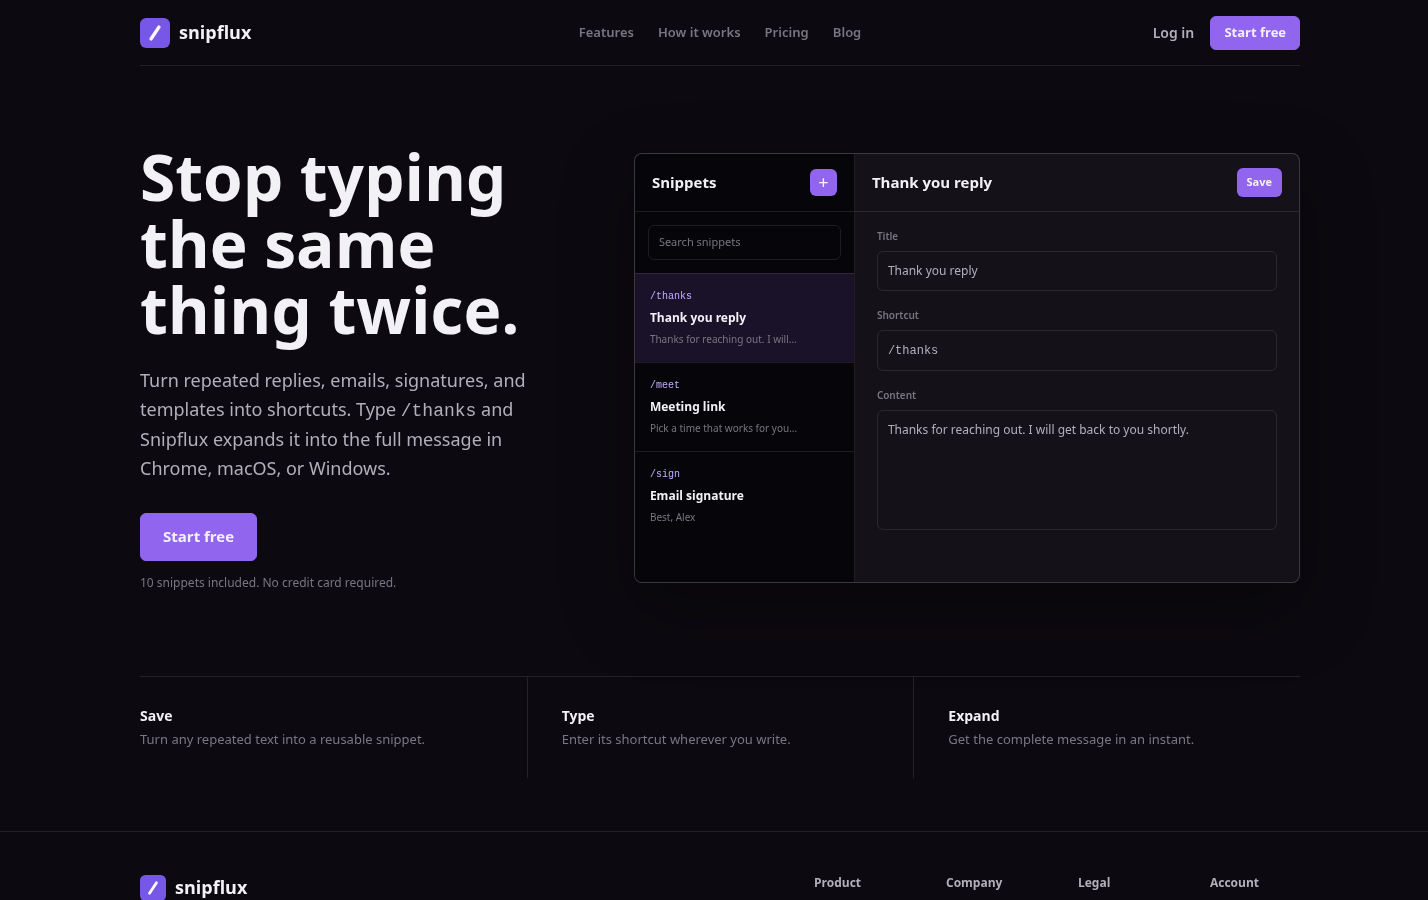
SnipFlux is best for teams and individuals who repeatedly type the same useful onboarding language: welcome messages, implementation requests, kickoff confirmations, and follow-up prompts. Reusable snippets and shortcut-based expansion help keep common response templates quick to insert across Chrome, macOS, and Windows.
Its limitation is equally important: a text expander does not decide which onboarding path a customer needs or verify that a deadline and meeting link are correct. Choose it when your process is defined and your biggest problem is reliably inserting approved text without constant copying and pasting. Review each expanded message before it goes out.
Common Onboarding Email Mistakes to Check Before Sending
A quick quality-control pass catches most onboarding friction before the customer sees it.
- Use one primary CTA. If the email asks the customer to book a call, read three articles, upload documents, and invite colleagues, they may do none of it. Put the most important action first and move secondary resources to a later message.
- Name the owner. State whether the customer, account manager, implementation specialist, or support team owns the next step. Ambiguous ownership produces stalled onboarding.
- Add a deadline when timing matters. "As soon as possible" is not a useful date. Explain what the deadline protects, such as a kickoff date or implementation timeline.
- Prioritize requested inputs. Separate must-have items from helpful extras. Customers should know what blocks progress now.
- Test every link and calendar detail. Check the CTA, upload route, meeting time zone, and reschedule option from the customer's point of view.
- Give one reply path. Tell customers whether to reply directly, contact a named owner, use a support channel, or submit through a secure portal.
- Keep security instructions specific. Use your approved process for sensitive files, access credentials, and compliance-related documentation. Do not improvise instructions in a template.
Ask one final question before sending: can the customer complete the next action without needing another email from us? If the answer is no, clarify the action, remove distractions, or add the missing route to support.
Your Customer Onboarding Email Checklist at a Glance
- Define first value. Choose the earliest meaningful outcome the customer should reach.
- Select the right trigger template. Match the message to purchase, setup, missing information, kickoff, stalled progress, or first value.
- Personalize the essentials. Confirm the customer name, goal, owner, timeline, links, and promised deliverables.
- Ask for only required inputs. Use a short prioritized list and explain why each item is needed.
- State the owner and deadline. Make responsibilities and timing unmistakable.
- Use one primary CTA. Give the customer a single clear action to take next.
- Schedule the follow-up. Decide now what happens if the customer completes the task, needs help, or does not respond.
Once your team has approved these messages, save the repeatable blocks as SnipFlux snippets so customer-facing replies stay fast and consistent without starting from scratch each time. For another reusable customer email format, see this support ticket closure email template.